.webp)
A basic understanding of pneumatics will make it significantly easier to troubleshoot and service your clinching machine independently.
The key components of a pneumatic system
Pneumatics is a branch of engineering that uses gas or pressurized air to generate force. These systems are known for their simplicity, reliability, and efficiency.
In the context of a sheet metal clinching machine, pneumatic machines require a compressor that generates air pressure. That pressure is channeled into a cylinder. It propels a piston, which activates the clinching tool. The tool then presses the materials together.

Pneumatics systems comprise the following components:
- Compressors are the heart of pneumatic systems, compressing and pressurizing air.
- Air supply lines. These lines transport compressed air from the compressor to the machine that uses it.
- Control valves control the flow and direction of air within the system, determining how and when different parts of the machine move.
- Cylinders and actuators convert the compressed air into mechanical motion, performing the work required by the machine.
The extra components depicted here are either for safety reasons, like the exhaust (to reduce noise) or to ensure the air remains clean and dry (the filter or the air treatment unit).
Many of the issues in pneumatic systems are caused by contaminated air. That’s important to understand because it will impact most of the maintenance work you have to do. It’s often about cleaning valves or checking that there’s no debris blocking the function of these pieces.
7 steps for troubleshooting pneumatic clinching machines
We’ve compiled a list of tips to help you troubleshoot most issues in a pneumatic clinching machine. These are most helpful if:
- The machine doesn’t activate.
- Only one part of the machine functions; for example, the clinch tooling comes down, but the power unit doesn’t operate.
- The machine operates a little slower than you’re used to.
You can check out tips for other clinching issues here, and here’s how to ensure your clinch joints are strong and secure.
When you’re troubleshooting a pneumatic system, remember to be cautious when disconnecting air lines and turning on air. The sudden movement of air lines can cause injury as they can whip around.
1. Document and label components before you start
Before starting any maintenance, take extensive pictures and videos of your machine. This ensures you can reassemble everything correctly once you’re done.
Use green painter’s tape and a Sharpie marker to number and label each piece. Most pneumatic lines have quick-connect fittings, making it easy to reconnect hoses for testing.
2. Reference pneumatic circuit drawings from your manufacturer
Your machine manufacturer will often provide a pneumatic circuit diagram showing each component and how they should connect.
These schematics are often included in the manual or attached to the machine itself. They’re there to help you understand how the system is supposed to function, so they should make it very easy to identify issues. Take some time to review those before you start any maintenance work.
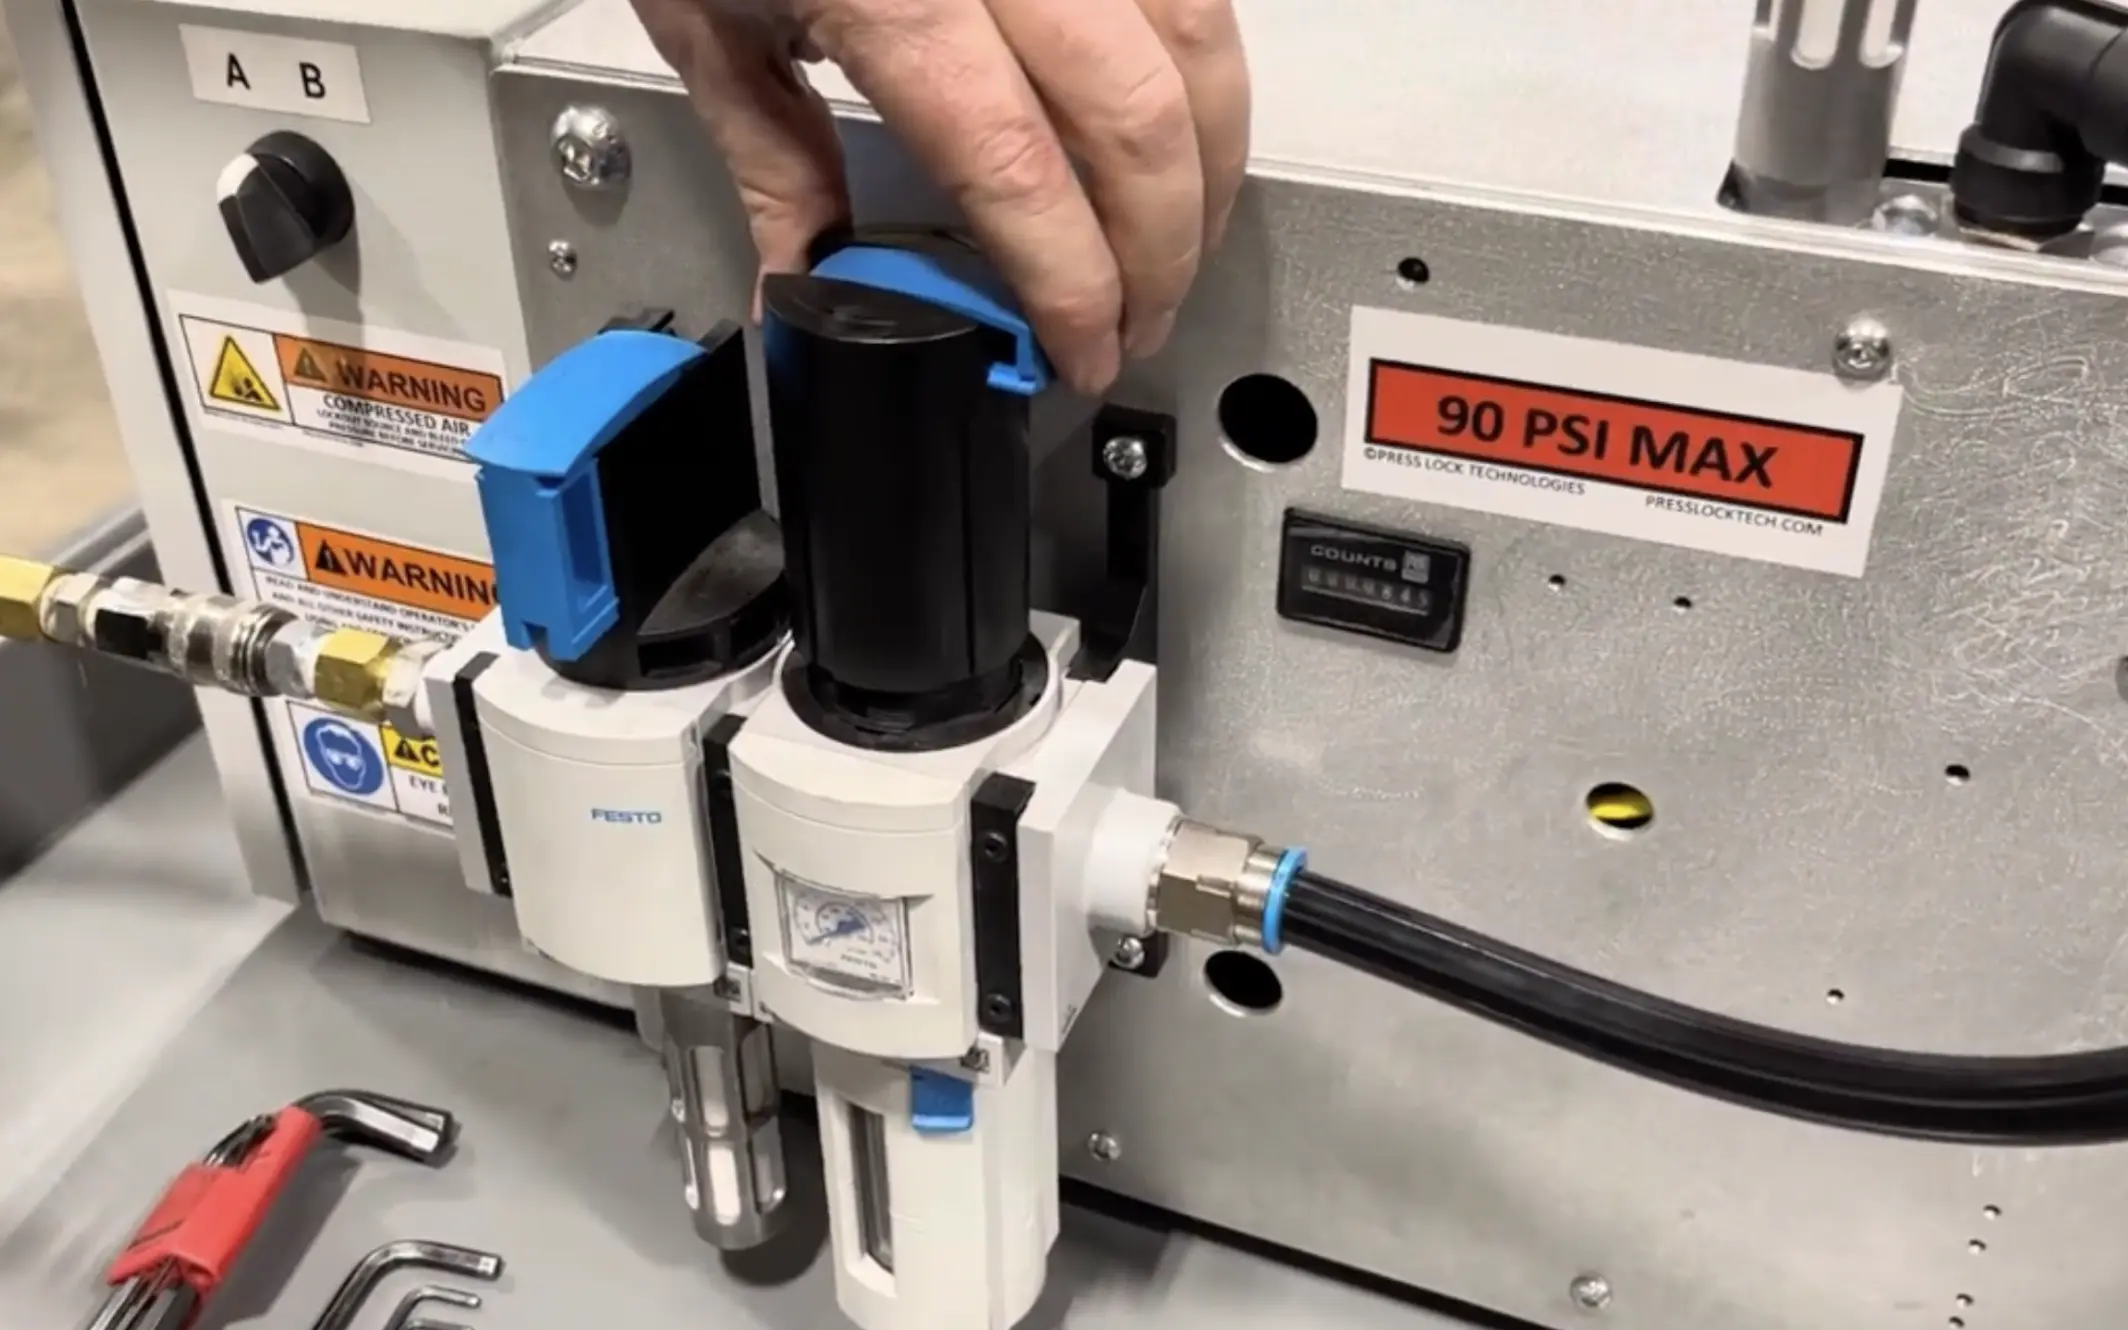
3. Check the pressure of the air supply
The first part to check is your air supply. You need a consistent air supply at around 100 PSI. Some machines can operate at lower pressure, so check the manual to see what is needed.
Sometimes, the pressure gauge on the machine is faulty, so verify it with another pressure gauge tester.
4. Ensure the air reaches each valve (or line) in order
Pneumatics are quite similar to a plumbing system.
Air (like water) has to flow through each of the system's components and requires a certain amount of pressure. When troubleshooting, you need to start from where air enters the machine and work through the system, ensuring that air reaches each point it needs to go to.
There are two main air supply types:
- Constant supply. You can check these by turning the air supply off, disconnecting the air line, turning it on again, and seeing if air comes out of the opening.
- Conditional supply based on valve openings.
Valves are a point at which debris can accumulate, so you have to check every valve individually. You should confirm that air reaches the valves and that they open and close correctly.
When inspecting each one, the main question you need to ask is: Is the air supply getting to one side of the valve? There will be a port where the air supply comes in. The valve should change condition and lead the air supply to the next port.
Confirm that that’s happening. If it isn’t:
- Check for pinched or blocked lines. This is one of the common causes of air supply getting blocked.
- Clean the valve. If the valve isn’t shifting, it might be that the spool has gummy deposits and needs cleaning. Sticky valves can often be temporarily fixed with WD-40 spray, but replacing them is a better long-term solution. In many cases, it can be possible to spray a small amount of WD-40 into the entry port (typically labeled port 1) and let the oil work its way through the valve.
- Replace the valve. If cleaning isn’t sufficient, replace the valve completely.

5. Drain the filter regulator
Most systems have a filter regulator that separates contaminants from the air. The regulator needs to be drained regularly, or eventually, the valves will rust or fill with debris that prevents them from shifting. If you experience issues like this regularly, consider using an air dryer to separate moisture before it enters the system.

6. Check the foot pedal
In some machines, the air will come to a foot pedal that the operator needs to press.
To confirm that the foot pedal itself works:
- Turn off the air coming into the machine.
- Look at the schematic on the foot pedal or in the manual. You want to find out which line is the signal line. Typically, it is labeled 2 or 4.
- Pull the air line out of the signal port of the foot pedal.
- Turn the air on the machine again. If air comes out of the pedal or the air line you have taken the wrong air line out.
- Air should come out of that port every time you step on the pedal. It should also stop abruptly when you take your foot off the pedal.
If that’s the case, the foot pedal is working. Otherwise, you might need to replace it.


7. Ensure the quick exhaust works
If the machine runs slower than it used to, the quick exhaust might be to blame.
A quick exhaust is essentially an escape hatch for the air. It’s often a rubber flap or diaphragm that can break down or get stuck. Air from a quick exhaust should come out quickly and sharply with a fast pop sound so you can easily identify if there is a blockage. Putting your hand over the top of the muffler that is connected to the exhaust port of the valve will let you feel this air release. If it is slow or non-existent, the valve is likely plugged or stuck.
Replace the quick exhaust to improve the speed of the machine.


Still not working? Give us a call
Knowing how to maintain pneumatic components will help you ensure your equipment's longevity and optimal performance.
But you don’t have to do it alone.
We’re happy to help you replace spare parts or repair and rebuild your machine. Just submit our contact form or give us a call.
Other articles you’ll find helpful

Take our 5-day course
Get an article every day for 5 days
Don’t have time to read everything now? Sign up and we’ll send you an article every day for 10 days.